
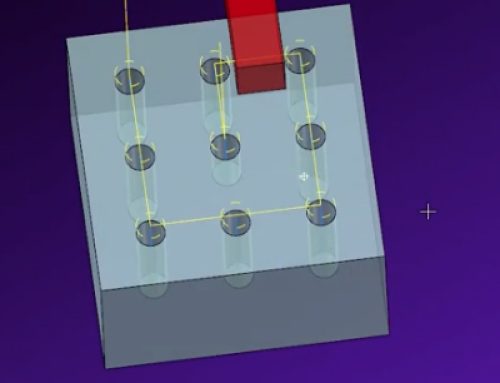
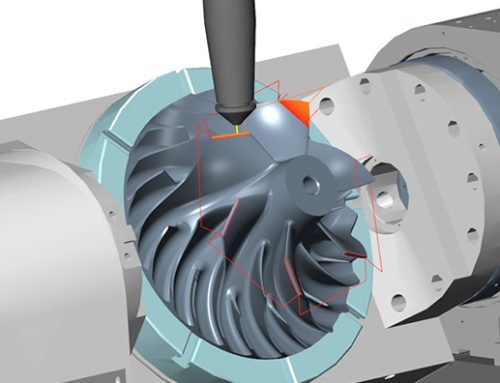
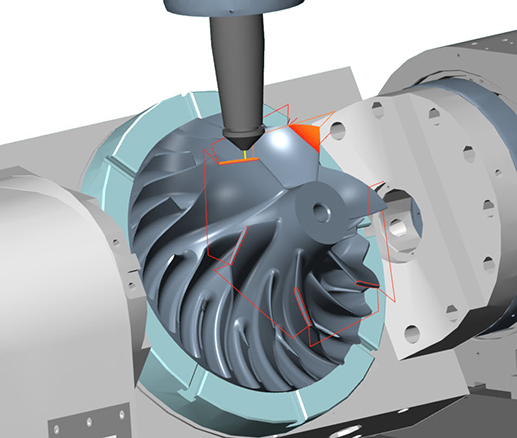
There’s a powerful new solids function in Mastercam 2017 that gives you quick results with far less effort. In previous versions, if you wanted to make derivative models of your part for things like nested fixturing or electrode geometry you had to use Boolean commands. Keep reading to find out how this process has been improved. Two example files are shown below. We will make an electrode to finish the fins and slots on the first part and on the second part we will make a set of jaws to nest the part for another operation.

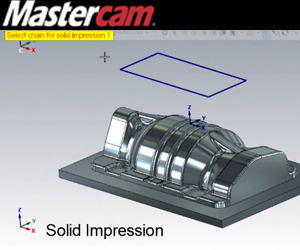
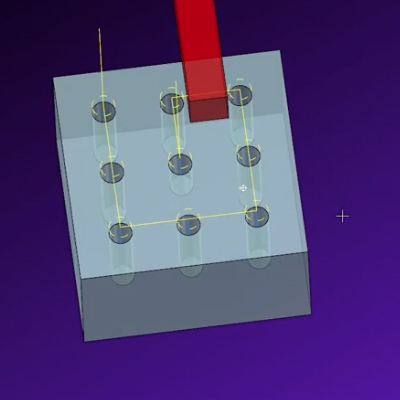
Using the Boolean family of commands would take many more steps and contribute more complexity to the file than the more streamlined workflow of solid impression. Sketch a closed outer boundary in each file for the tool you want to make. The new impression body will be extruded normal, or perpendicular to the chain. Note that the boundary is positioned a small distance away from the target part body.

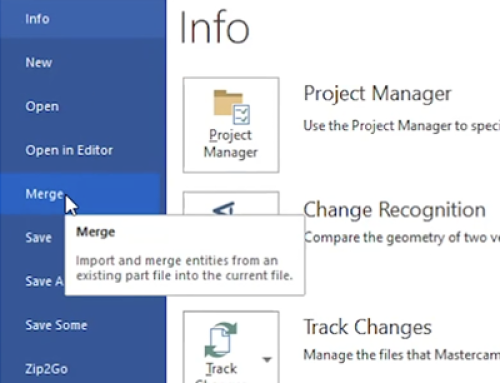
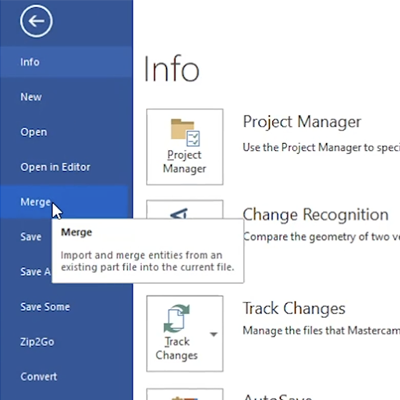
Next, go to the Solids tab on the ribbon and select Impression.

Chain the sketch, click OK, and select the target body when prompted. Click OK one more time.

Mastercam instantly extrudes a new solid up to the target faces.

These new bodies are completely independent of the target bodies and boundary chains so they can be moved or even modified with the direct editing tools like push pull very easily.


As you can see, this new feature makes the process of generating derivative tool geometry both quick and easy.
Please be sure to sign up for our 2 Minute Tuesday video series to receive tips and tricks like this one in video form every week. More info at the button below.

Leave A Comment